Homemade Bone Broth
There are two really opposite ways I approach bone broth, and I’ll do one or the other depending on my mood. The fancy, more complicated way is listed out below (all it really entails is an extra step and a potential extra trip to the grocery store). The easier, more frugal way: I’ll save the bones from a roasted chicken, and either freeze them in a baggie right away or dump them in the crockpot with veggie scraps. You ideally need bones from two chickens, but I’ve done it with just one. Veggie scraps can be anything in the range of onion skins, potato skins, carrot peelings, garlic skins, and celery trimmings. Toss in a bay leaf + 2T of apple cider vinegar, and cook on low for 24 hours (no more than 36-48 hours or your flavors will turn). The hardest part about this is cooling off the broth quickly (which I’ve explained below) and the mess I always make trying to ladle broth into ziplock freezer bags. Other than that, this is a great way to introduce hidden nutrients into your family’s meals, and as we head into flu season, I can’t think of a better thing to have tucked away in the freezer.
Read on for my slightly more complicated version!
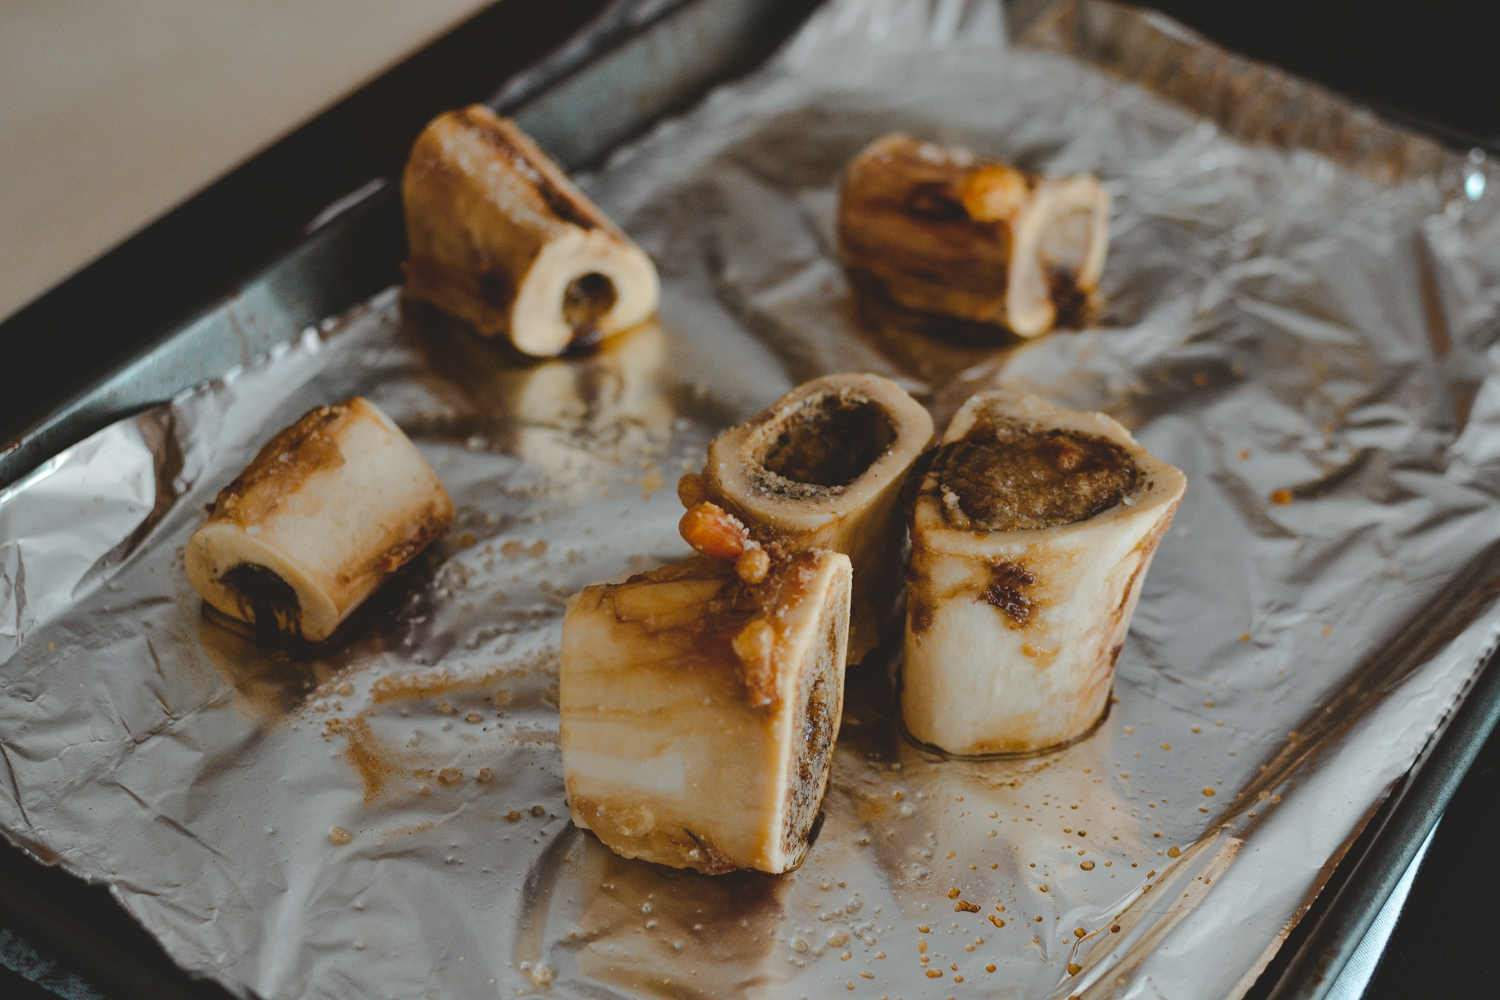
Sprouts usually has these beef bones in their freezer section, so I grabbed those for this round of bone broth. You want collagen heavy bones, and most butchers are happy to point out those types of bones to you. It’s also always a good idea to go organic with your veggies and bones since you’re extracting everything out of them by way of slow cooking. (P.S. If you end up with a gelatinous broth at room temperature, that’s a sign you’ve chosen some good bones.)
I’ve also experimented with both crockpot and Instant Pot cooking, and the crockpot is by far the best. However, in a pinch (and we’ve all been there) the Instant Pot still gives nice results. At the very least, you’re getting a healthier stock for cooking with. For the Instant Pot, I set it for 90 minutes and let it slow release completely before I open it. I’ve been happiest with my crockpot results after 24 hours of cooking, but have gone as short as 8-10 hours as well.
Clean your veggie scraps thoroughly before you use them. You can also roughly chop and toss in whatever you’re feeling. I threw in garlic this round because garlic has some fantastic flavor and healing properties, but took it out halfway through because it was STRONG smelling in the house.
Roasting the bones is also a great way to bring out the flavor. I only do this when I buy them directly from the store. If I’m using bones from a roasted chicken, I’ll skip this step. Throwing in some peppercorns and a bay leaf is another way to bring the natural flavors up a notch in the broth.
When you’re ready to strain the broth and store it, it’s important to prepare to quickly cool off the broth BEFORE you put it in the fridge, otherwise you’re basically breeding bacteria in your beautiful broth. The way I like to do this is to create an ice bath in my sink, place a metal bowl in the ice bath, and strain my broth over the bowl. I freeze half of it in ziplock bags, and put the other half in mason jars in my fridge. Repeat after me: “I will not let my broth sit on warm in the crockpot for an undetermined amount of time.” This is not queso at your football party, which the warm setting was basically made for. Take it from bubbling to cooling on ice, and ladle into your storage containers in a quick manner.
Bone broth is basically like cooking stock with extra benefits. It has zero salt in it, so keep that in mind when you’re using it in recipes. It’s fantastic in soups, for sipping, as a base for sauce, cooking pasta or veggies in, etc. The possibilities are endless, and it’s an easy way to sneak nutrients into your diet. This has also completely altered the way I view cooking with bouillon and premade stocks. Homemade broth is full of nutrients, and naturally carries way less sodium. I still use bouillon cubes in recipes when it’s called for, but there’s really no comparison in flavor!
P.S. There may be a little bit of fat at the top of your broth. It’ll harden in the fridge, and you can easily toss it out or cook with it. Whatever you’re feelin’.
Here’s the simple instructions written out below from my latest (and favorite) round of bone broth.
Ingredients:
1-2 lbs of bones
1 onion + skins
2 carrots (clean but unpeeled)
1 head of garlic
1 bay leaf
1 T of peppercorns
2 T of apple cider vinegar
10-12 cups of water
Instructions:
Set your oven to 400, and lightly salt bones on a cookie sheet. Roast bones for 1 hour.
While bones are roasting, roughly chop your veggies. (An extra optional step is roasting your veggies as well. I would recommend only doing this for about 10 minutes at 400 degrees.)
Put vegetables and spices in crockpot on low. Add apple cider vinegar and water (leaving some room for the bones).
When bones are ready, add them to your crockpot.
Cook on low for 24-36 hours. Do not exceed 48 hours.
Cool off broth quickly by straining into a bowl sitting in an ice bath. Take care to safely store your broth after straining in the refrigerator (for up to 2-3 days) or freezer (3 months).


